Photo editing steps | how to edit photos on Lightroom
Friends if you want to edit your photos and till now you are not purchasing Adobe Lightroom then you are missing out, because Adobe Lightroom is one of the top image editing programs it will be enhance your images or creative perfection. In other words we can say that also the Lightroom is a Photographers best friend and one of the best thing in that the possibility of software are unlimited in this so today we are going to tell you how to edit in Lightroom like a pro steps for editing your photos.

Adobe Lightroom is a powerful photo editor and camera app that empowers your photography helping you capture and stunning. So now we will show you how to edit lightroom like a pro here are some steps for editing your photos.
1. Shoot your images in RAW Files
These files are Uncompressed files This is a very different image format that takes up more memory on your SD card than your normal JPEG. Profile is also processed in your camera software but it won’t show up when you insert your SD card into your computer.
When you apply raw images file you will notice that your photo is get darker one more thing all software are not accept RAW images but Lightroom does so why are you not using raw white format when you edit in lightroom? One of the best thing is that Raw files create folders or collections which allow you to keep everything perfectly organised.
2. Open Up the Develop Module
This is the best module in lightroom for editing your photos the development dual have most options for experimenting with your photos.
when you will open the module select the image which you want to edit.
now you will see that there are preset edits on the right side of the screen and on the other side of the screen are more detailed setting you can experiment with as well as the Histogram.
3. Editing with presence
In this you you will see e there are several editing options.
At first you have to go to to the the Clarity edit in Lightroom as we all know clarity increase the contrast in our photos but one more thing it does not affect the black tones or white tones clarity only effect gray tones in the images.
Not only in Adobe lightroom you will see that when you will edit your photos in another apps also you will see that when you will increase the clarity your images get more detail and short and when you will decrease the clarity the more out of focus your images gets. In most cases you will want to increase the clarity slider to get a crisp look.
Next one is the Dehaze editing slider this is the unique and super powerful option.This is such a process, if you click any of your photos and while clicking the photo, pollution or fog appears in your photo, then it removes it and makes your photo beautiful.
The Vibrance slider effects in this the shortness and intensity of colours during those colours that don’t pop up.
So if you increase the Vibrance slider then those colours are coming out and when you increase the slider the colours become duller.
Last one is saturation slider increases the color intensity of your photo whatever dull colors in your picture also makes them look bright This is a slider that increases the intensity of all colors.
4. Editing with Tone
If seen for photo editing, Tone is a very important tool that makes your photo completely different and full of quality. tone editing in photography refers to the range of the lightest to the darkest in an image called the tonal range.
In this the first slider is Exposure slider this is the best slider to capture the lights like sometime you will click your photo but, if you don’t get the right light then you can correct it on light room with the explosure slider.
Contrast it is the next editing slider what is the difference between the light intensity and dark like if you will increase the contrast your images radiates both the light and dark but if you decrease the contrast the light and dark in the images take on a flat look.
Highlight it is the one of the brightest spot in the image if you want to highlight your image then you will hire move the highlight slider.
Next one is the shadow slider this slider is only for increase your shadow in the image like if you want to increase the shadow in your image then you will increase the the shadow slider.
Whites editing slider help of the slider you can increase or decrease the white balance in the image.
The last setting is the Black slider with the help of this tool you can either increase or decrease the Black balance in the image.
5. Try Presets
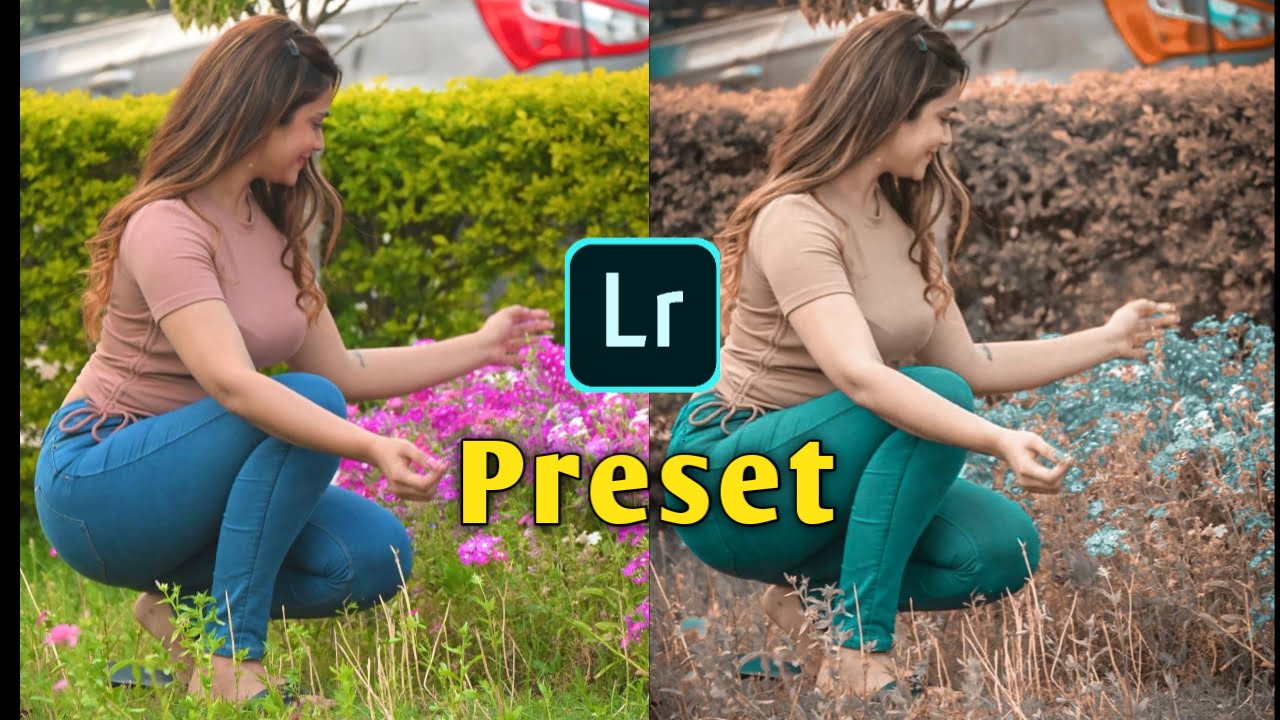
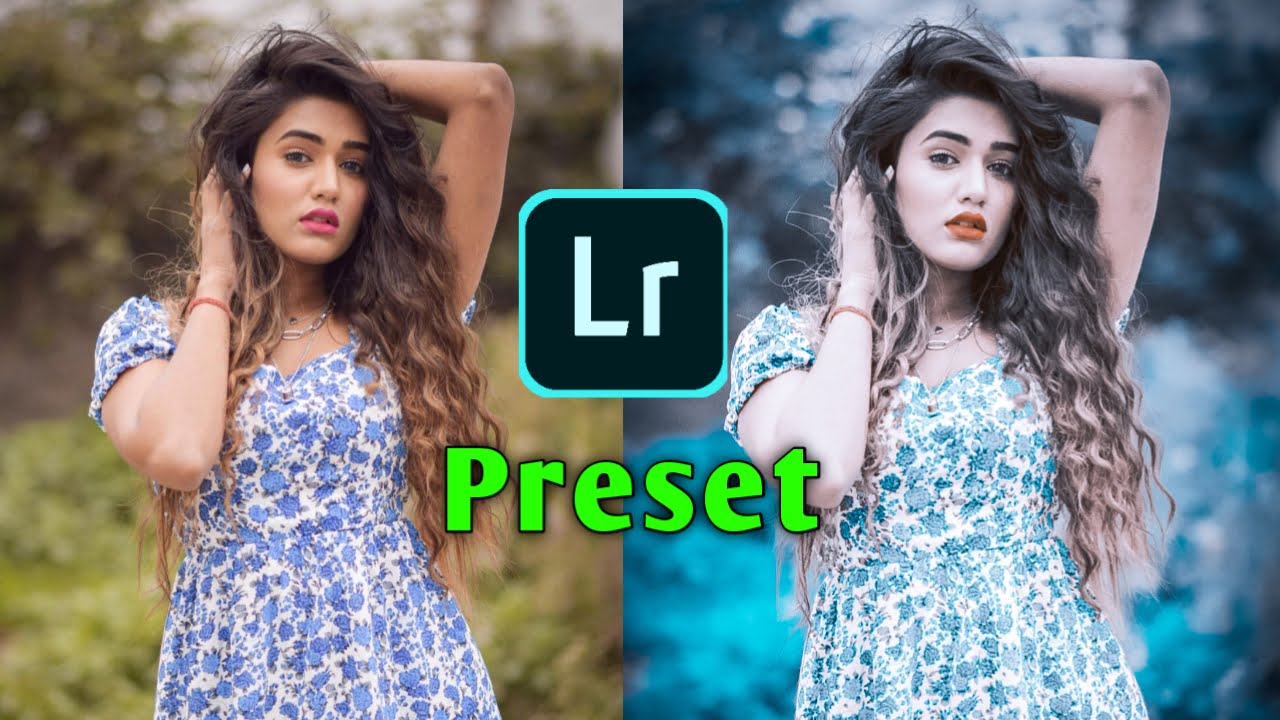
Lightroom processed is the best way to achiever style photo using per configured setting Lightroom project speed up the editing process by allowing you start with settings that work well and it make small adjustment from there if necessary.
6.Export the image
This is the last step when you will finished editing like a pro then it’s time to export your image the process is a bit different than what you do in a most other photography software.
When you want to export your photo then click on each photo that ready to export now choose the file option on the lightroom screen then click on the export option.
Now a window will pop up with options then you have to allow and choose where you want to export the image and in what file format you want if you want to change your image in JPEG then it’s super easy process.
Lightroom is a very great thing for editing your photo you can enjoy one unit and best photo by editing your photo through Lightroom. So if you also want to edit your photos then purchase Adobe Lightroom don’t missing out.
Also Read
Conclusion
Friends what did you learn from this article ‘How to Edit in Lightroom Like a Pro: Steps for Editing Your Photos’ What kind of article do you want on our website next You can ask me all these problem questions in the comment box below And I will give you his reply as soon as possible.


